Sponge networks
For this section of the case study, we will interact with a running Neo4j database. If you do not have such a database available, please take a look at the Neo4j section of this web page to learn how to set up one locally or via Docker.
To upload our data, we need to open a terminal and navigate to the folder where we stored the files from the previous section. Make sure to unzip the zip files with all BIOM and network files into folders with the same names. We can then upload all files using the neo4biom and io modules. Remember to adjust the address and password if those are different for your Neo4j instance!
Note that the -biom and -net flags only need the folder name; they will simply try to import every file present in this folder.
mako neo4biom -u neo4j -p test -a neo4j://localhost:7688 -cf -biom sponge_biomfiles
mako io -cf -net sponge_networks
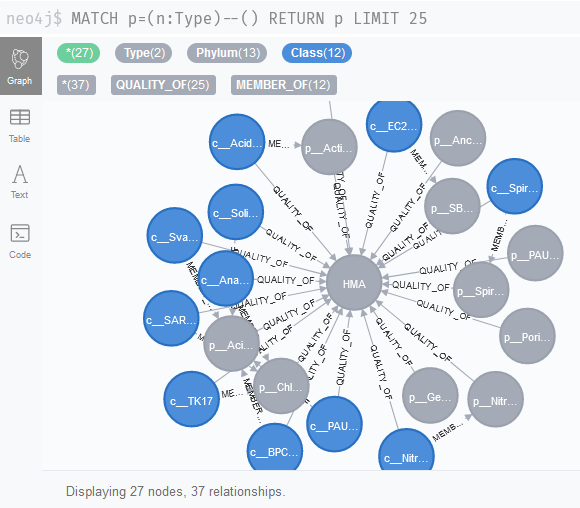
Next, we will upload the files that indicate HMA and LMA associations. These need to have the appropriate column names, so that we create only one HMA and one LMA node and we connect these to Class and Phylum nodes. Not all phylogenetic groups found by Moitinho-Silva et al. are actually present in these networks; this is okay, we will be able to query the ones that are.
mako io -cf -meta sponge_class.tsv
mako io -cf -meta sponge_phylum.tsv
After completing the above tasks, you should be able to find phylogenetic levels that are linked to HMA or LMA status using the query MATCH p=(n:Type)--() RETURN p LIMIT 25